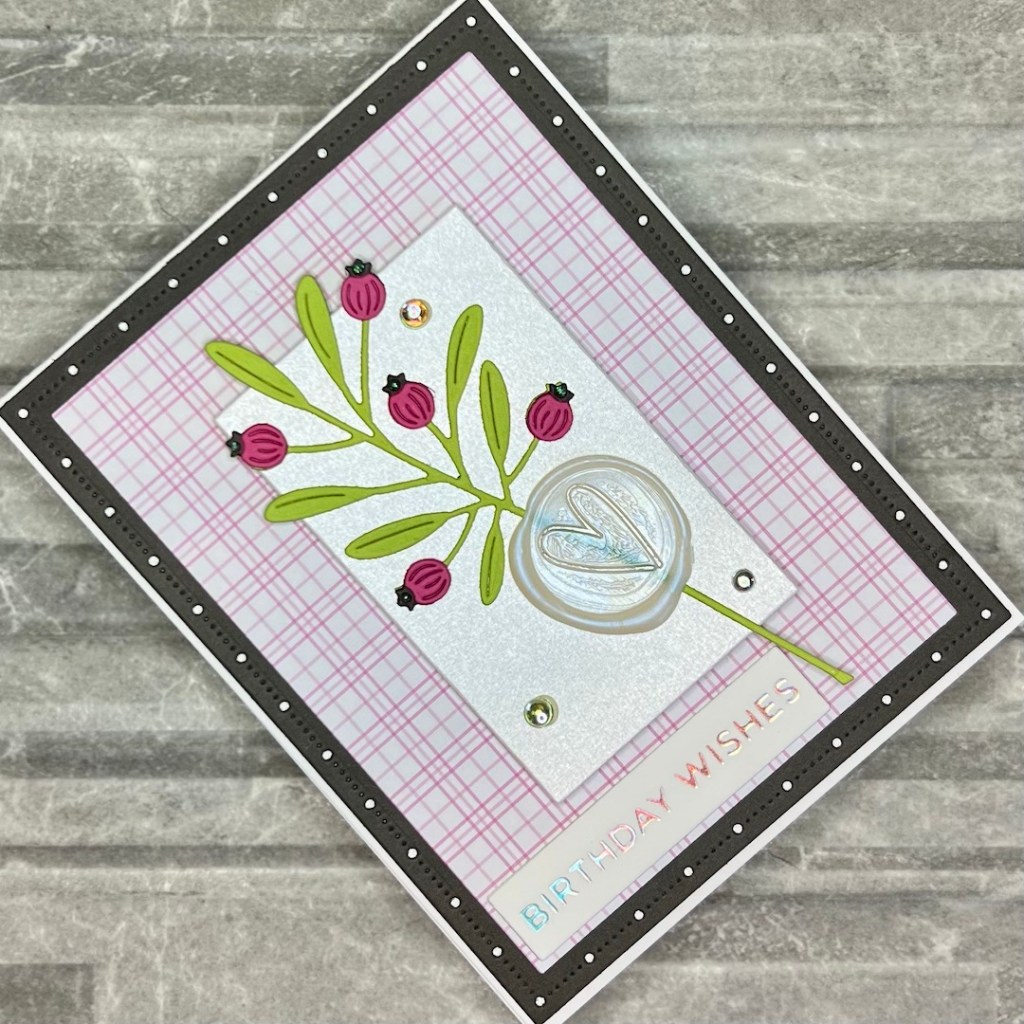
Flowers and wax seals!
Hey All, today I have another flower and wax seal card for you. These cards are really fun to have around especially if you need a quick and elegant card. Case in point, seems that I have had to make a sympathy card at least once a week lately. Sadly our friends brother passed away unexpectedly, so this card is for their family. Anywho, you can use any sentiment with this type of card and it will work perfectly. Honestly I may make up a bunch without any sentiment just to have on hand, I can throw on the appropriate one and BOOM card is ready! Now, on with the Show & Tell…

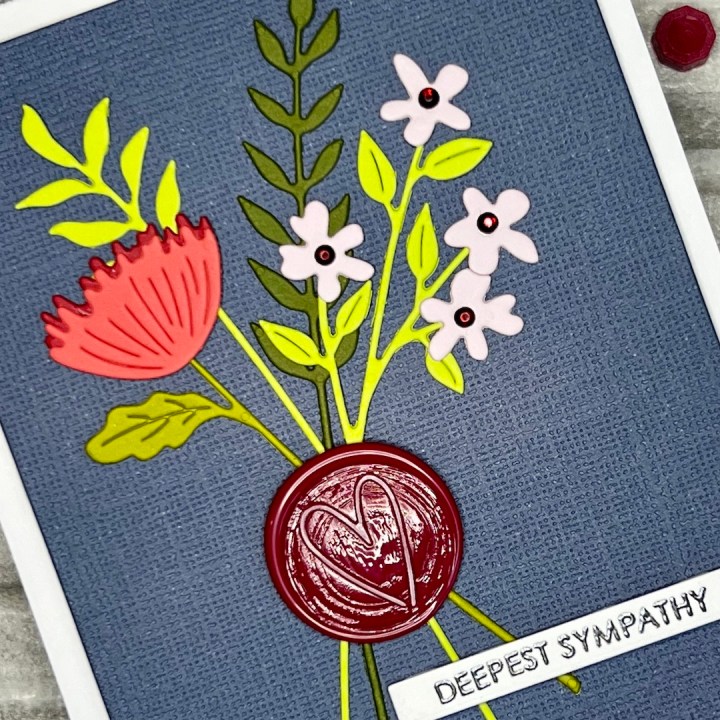
The dark background paper has a texture to it, making it perfect to place my flowers on.
A red wax seal with a heart that I added some white paint to the edge of just makes this SO elegant. I paired it all with my deepest sympathy stamp (retired from sugar pea) that I heat embossed with gunmetal powder.

Multiple greens and three flowers colors cut with these nicely detailed dies.
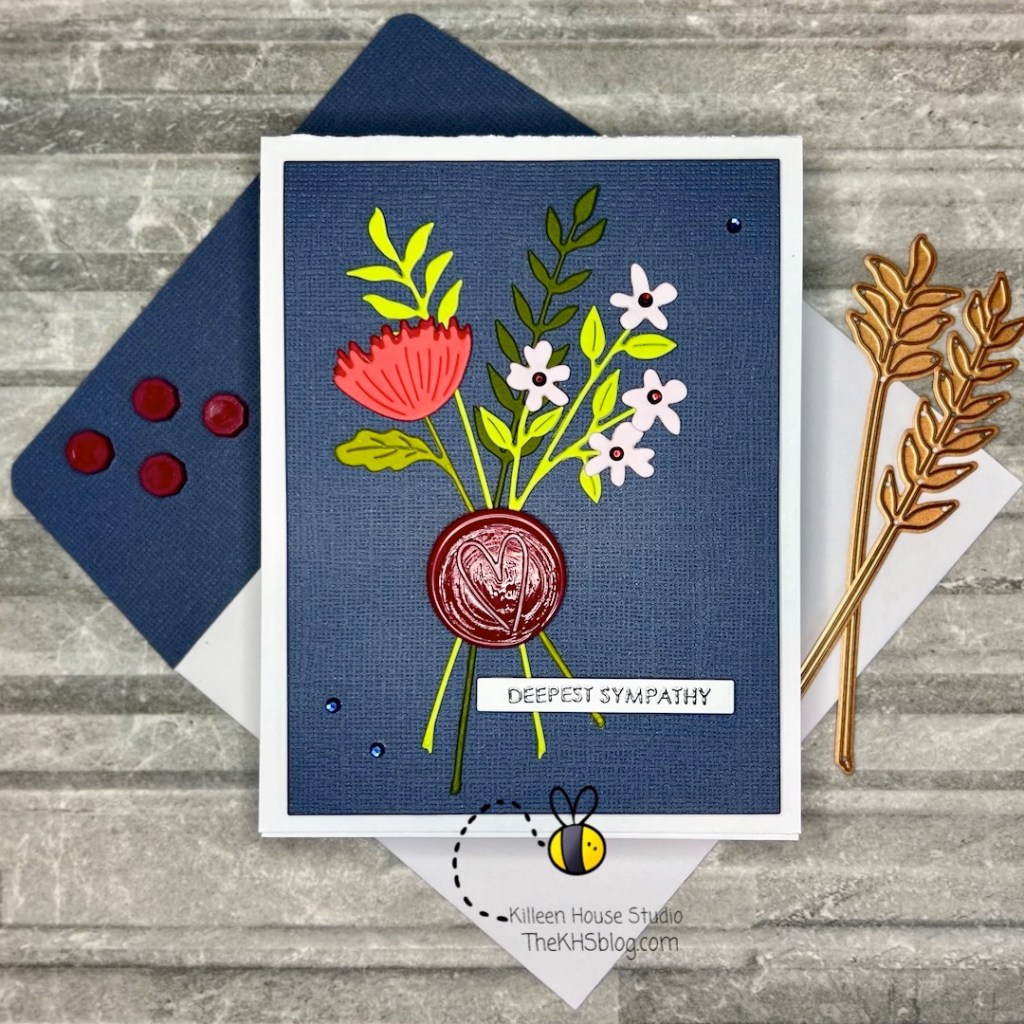
Card Details:
- Card base of Accent Opaquer White 120lb
- Bazzil textured blue paper cut with nesting rectangle, adhered with fun foam and 1/4 inch double side adhesive
- Flowers and leaves cut from multiple papers, adhered with tombow glue
- Wax seal created on a silicone mat, adhered with tombow glue
- Sentiment stamped with Versamark and heat embossed with gunmetal powder, cut with word window, adhered with foam squares
- Red gems added to pink flower centers
- Blue gems added for bling!
- Envelope embellished with matching paper and 6 inch double side adhesive
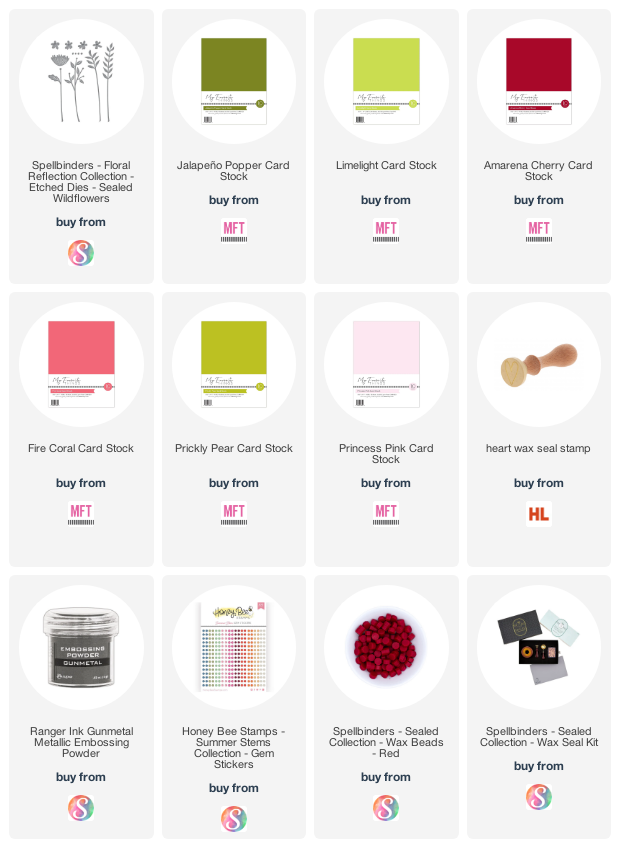
Shopping List:
Affiliate links have been used in this post at no cost to you. If you do happen to click and buy, I may get a small percentage.
Thank You for supporting my little blog.
If you would like to see all the basic items I like to use in my studio; like glue, tape runner, tools ect. Please click My Go-To’s.

Don’t want to miss a post? Sign up below to have them delivered right to your inbox!