
Creatively made into a Graduation card!
Hi All! Today I have a fun hot foil card featuring a VW Beetle that I made into a graduation card! Recently my neighbor asked me to make two graduation cards for her kids. Both are graduating with Masters, her daughter in Education and son in Architecture. I will show you the sons card in a few days. As usual I try and personalize cards. I know Jocelyn drives a cute beetle with those fun eyelashes on it. She also loves pink. So that’s what I was working with. Now, on with the Show & Tell…

This set was the Glimmer of the Month for 1/2023. It is available for purchase and is a really fun set. Look into the Spellbinders Clubs, they are fantastic!
Adding the congratulations sentiment and a cap transformed this into a graduation card! If you look close I even added little eyelashes.


The pastel pink hot foil worked beautifully on the Shimmer paper.
Copic List:
- Flowers: RV09, RV14, RV13, RV23
- Leaves: YG17, YG13, YG11, G07, G14, YG03
- Cap: T8, T7, T6, T5
Card Details:
- Card base of Accent Opaque White 120lb
- Licorice layer cut with layering rectangle, adhered with tape runner
- Pretty In Plaid layer cut with layering rectangle, adhered with tape runner
- Licorice layer cut with layering rectangle, adhered with fun foam and 1/4 inch double side adhesive
- Car hot foiled with Pastel Pink Foil on Shimmer paper, cut with coordinating die, I also cut the shape 3 more times and glued them all together in a stack with Tonic Deluxe glue, adhered to card with same glue
- Bouquet hot foiled with opaque black on Hammermill, colored with Copic markers and cut with coordinating die
- Adhered with tape runner and a foam square
- Sentiment hot foiled with pastel pink on Shimmer paper, cut with word die, adhered with foam squaes
- Graduation cap printed on Hammermill from clip art, colored with copic markers, cut with Scan N Cut, adhered with glue
- Honey Bee gems added for fun
- Tiny eyelashes added for personalization!
- Envelope embellished with coordinating paper and 6 inch double side adhesive
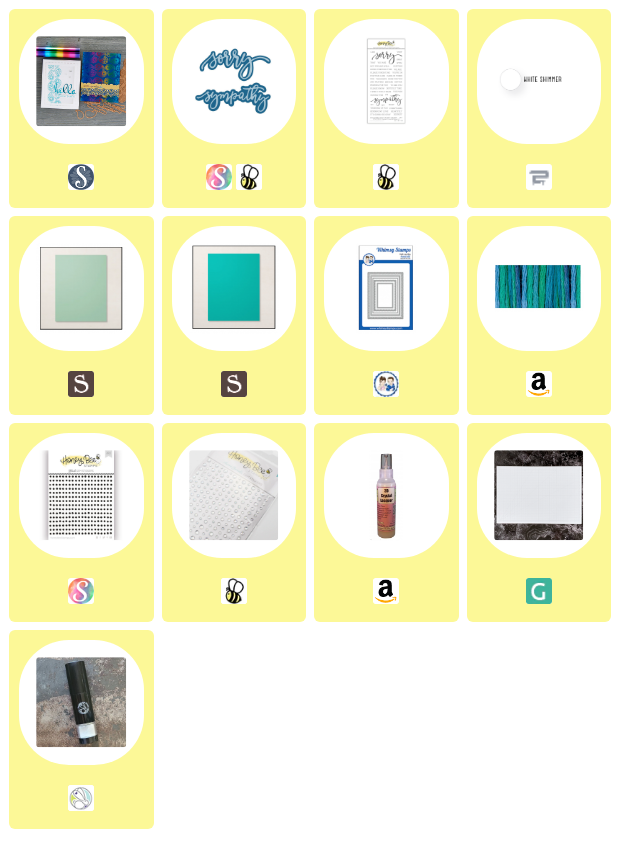
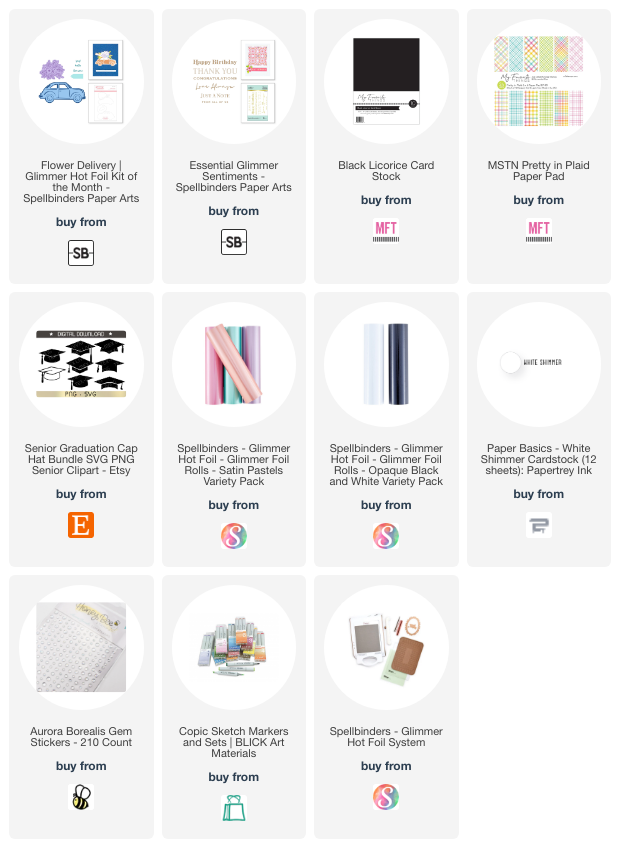
Shopping List:
Affiliate links have been used in this post at no cost to you. If you do happen to click and buy, I may get a small percentage.
Thank You for supporting my little blog.
If you would like to see all the basic items I like to use in my studio; like glue, tape runner, tools ect. Please click My Go-To’s.

Don’t want to miss a post? Sign up below to have them delivered right to your inbox!